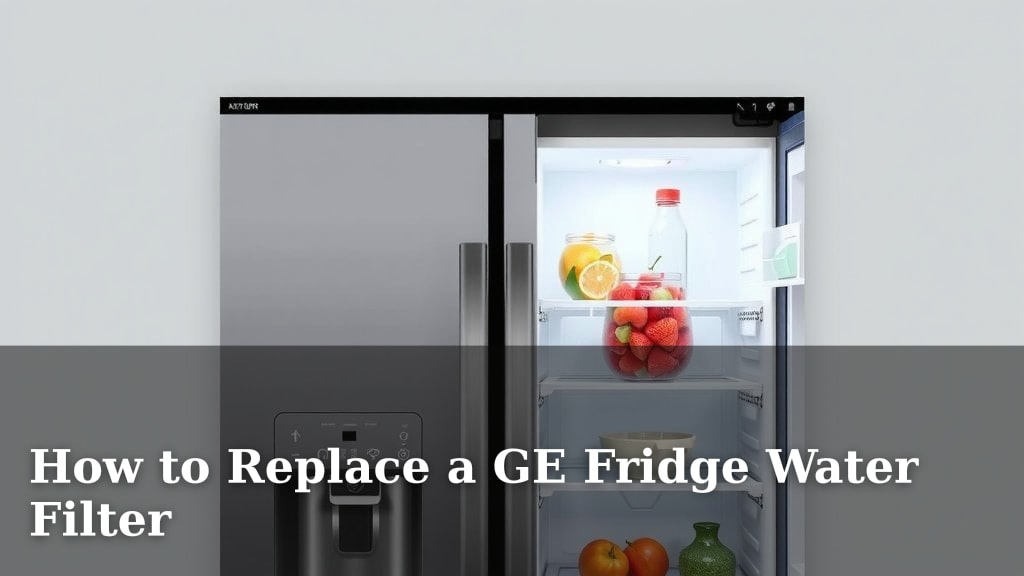
How to Replace a GE Fridge Water Filter
Replacing your GE fridge water filter is a straightforward process that will help you maintain clean, fresh-tasting water and ice. You can typically swap out an old filter for a new one in under five minutes, often without needing any tools. Just make sure you have the correct replacement filter model for your specific GE refrigerator.
A clogged or expired water filter can affect your fridge’s water dispenser performance and the quality of your water. We found that regularly changing your filter ensures your refrigerator operates at its best and continues to provide safe, filtered water for your household. It’s a small maintenance task with a big impact on your daily convenience.
- Locate your fridge’s water filter.
- Turn off the water supply (if your model requires it).
- Remove the old filter.
- Install the new filter.
- Flush the system with water.
Ready to get started? Let’s walk through exactly how to replace your GE fridge water filter step by step.
Swapping Your GE Refrigerator Water Filter: A Quick Guide
Replacing your GE fridge water filter is simpler than you might think. You’re likely due for a change if your water flow has slowed. It’s a small task that keeps your water tasting great. We found that most GE models make this process very straightforward.
Understanding Your GE Fridge Filter’s Role
Your refrigerator’s water filter does more than just make water taste good. It removes impurities like sediment and chlorine. This helps prevent scale buildup inside your fridge. Many experts recommend changing your filter every six months. This is to ensure optimal performance and water quality (GE Appliances).
Where to Find Your GE Fridge Water Filter
The first step is locating the filter in your GE refrigerator. Most GE models hide the filter in one of a few common places. You’ll usually find it either inside the refrigerator compartment or in the base grille at the bottom. Let’s look at the most popular spots.
Inside the Refrigerator Compartment
Many GE refrigerators have a filter located inside the main body of the fridge. You might need to remove a shelf or cover to get to it. Look for a small housing, often in a top corner. Some models even have a small indicator light on the control panel to remind you when it’s time for a change. This makes spotting the filter easier.
At the Bottom Grille
Other GE models place the filter behind the bottom grille. This is the vent cover at the very base of your refrigerator. You can usually pull this grille straight off. Sometimes, there’s a small latch or clips holding it in place. Once removed, you’ll see the filter housing.
Checking Your Owner’s Manual
If you’re still unsure, your GE refrigerator’s owner’s manual is your best friend. It will clearly show the exact location of your specific model’s water filter. It’s always best to consult it if you’re having trouble finding it. We found that having the manual handy saves a lot of guesswork.
Gathering Your Supplies
Before you start, make sure you have everything you need. The most important item is your new GE refrigerator water filter. Ensure it’s the correct model number for your fridge. You can usually find this number on the old filter itself or in your owner’s manual. Some people like to have a towel or small bucket ready. This is just in case a little water spills out when you remove the old filter.
Step-by-Step Filter Replacement Process
Now that you know where to look and what you need, let’s get to the actual replacement. It’s a quick process. We’ve broken it down into simple, manageable steps for you.
Step 1: Turn Off the Water Supply (If Needed)
For most GE refrigerator models, you don’t need to turn off the water supply. The filter housing is designed to prevent a large flood. However, if your manual specifically states to turn off the water, it’s best to do so. You’ll typically find a shut-off valve behind the fridge or under the sink. If you skip this, be prepared for a small amount of water leakage.
Step 2: Remove the Old Water Filter
This is where you’ll see the filter itself. How you remove it depends on your GE model. Some filters twist counter-clockwise to unlock. Others have a push-button release. You might need to pull a small lever or tab. Gently pull or twist the filter out. Remember, a little water might drip out, so have that towel ready!
Common GE Filter Release Mechanisms
- Twist-Off Filters: Grasp the filter and turn it counter-clockwise about a quarter turn. It should then pull straight out.
- Push-Button Filters: Look for a button or tab near the filter cap. Press the button and the filter should pop out slightly, allowing you to pull it free.
- Pull-Down Filters: Some filters are held in by a clip or handle. You might need to pull down on the handle or release a clip to get the filter out.
Step 3: Install the New GE Water Filter
Getting the new filter in is just as easy. Take your new GE filter and align it with the housing. Most filters have markings or shapes that show you the correct way to insert them. Push the new filter in firmly. You might hear or feel a click as it locks into place. If it’s a twist-off type, turn it clockwise until it feels secure.
Ensuring a Secure Fit
It’s important that the new filter is seated properly. A loose filter can cause leaks. Push it in until it stops, then give it a gentle twist or listen for that satisfying click. You want to feel that it’s snug and secure in its housing. Many experts suggest checking that the filter is flush with its surrounding casing (GE Appliances).
Step 4: Flush the New Filter
This is a critical step often overlooked. Once the new filter is installed, you need to flush the system. This removes any air pockets and loose carbon fines from the new filter. Dispense water from your fridge’s dispenser for about 3-5 minutes. You’ll notice the water might look cloudy or bubbly at first. This is normal and will clear up as you flush.
Why Flushing is Essential
Flushing ensures you’re drinking clean water. Those tiny carbon particles can make your water taste a bit off. They can also clog up your dispenser. Many guidelines suggest flushing at least two gallons of water through the new filter. We found that running the water until it’s clear is the best indicator that you’re done.
Quick Checklist for Your GE Fridge Filter Change
Here’s a handy checklist to make sure you don’t miss a step:
- Confirm you have the correct replacement filter.
- Locate your old filter in the fridge or grille.
- Gently remove the old filter (be ready for a little water).
- Insert the new filter until it clicks or locks securely.
- Dispense water for 3-5 minutes to flush the new filter.
- Reset your filter indicator light, if your model has one.
Conclusion
You’ve successfully learned how to replace your GE fridge water filter! It’s a simple maintenance task that ensures you and your family always have access to pure, refreshing water and ice. Remember, locating the filter, removing the old one, installing the new, and flushing the system are the key steps. By changing your filter regularly, you’re keeping your refrigerator running efficiently and your water tasting its best. Ready to enjoy cleaner water? Your next step is to find the right filter for your model and get it swapped out!
Frequently Asked Questions
How often should I really change my GE fridge water filter?
Most experts, including GE Appliances, recommend changing your water filter every six months. If you notice a slower water flow or a change in taste, it’s a good sign it’s time for a replacement sooner.
What happens if I don’t replace my GE fridge water filter?
If you don’t replace your filter, it can become clogged. This leads to reduced water flow from your dispenser. It can also mean that impurities are no longer being filtered out, affecting your water and ice quality.
My water is cloudy after replacing the filter, is that normal?
Yes, cloudy or bubbly water is perfectly normal immediately after installing a new filter. This is due to air pockets and loose carbon particles that are flushed out during the first few uses. Just continue dispensing water for a few minutes.
Can I use a generic water filter instead of a GE brand filter?
While generic filters might fit, it’s generally best to use an authentic GE replacement filter. This ensures proper fit, optimal filtration performance, and avoids potential issues with your refrigerator’s water system.
My GE fridge has a filter indicator light. How do I reset it?
The method for resetting the filter indicator light varies by GE refrigerator model. Usually, you’ll need to press and hold a specific button or a combination of buttons on your control panel for a few seconds. Consult your owner’s manual for the exact instructions for your model.

![10 Best Two Stage Whole House Water Filter [2026]](https://waterans.com/wp-content/uploads/2026/06/10-best-two-stage-whole-house-water-filter-2026-featured-768x432.jpg)