

How to Clean a Water Filter: Full Guide
The easiest way to clean a water filter is to disassemble it and use a soft brush with warm, soapy water. Rinse thoroughly and allow it to air dry completely. This simple process helps maintain cleaner water and prolong your filter’s life.
Keeping your water filter clean is super important for both water taste and your health. A dirty filter can harbor harmful bacteria. We found that regular cleaning helps ensure your filter works its best and your water stays fresh and safe.
- Check your filter type first.
- Most filters can be cleaned with soap and water.
- Always rinse and dry completely.
- Replace filters when cleaning is no longer effective.
Ready to get your filter sparkling clean? Let’s walk through exactly how to do it step by step.
Maintaining Your Water Filter: A Step-by-Step Cleaning Guide
Keeping your water filter in tip-top shape is a game-changer for water quality. Cleaning it regularly helps remove mineral buildup and potential ickies. We found that a clean filter means better-tasting water and a healthier home. Let’s get started on making your filter shine!
Understanding Your Water Filter Type
Before you grab your sponge, it’s vital to know what kind of filter you have. Not all filters are created equal, and cleaning methods can vary wildly. Think of it like washing different types of delicate fabrics; you wouldn’t treat silk the same as denim, right?
Common Filter Types and Their Cleaning Needs
Most household water filters fall into a few main categories. Knowing yours will help you avoid damaging it during cleaning. Many under-sink systems, pitcher filters, and faucet attachments are designed for some level of maintenance.
Pitcher and Dispenser Filters
These are often the easiest to clean. They typically have removable filter cartridges that can be handled separately. Many of these are designed to be rinsed and perhaps gently scrubbed. We found that these types are quite forgiving.
Faucet-Mounted Filters
These attach directly to your faucet. Some have cartridges that can be cleaned, while others are more sealed units. Always check the manufacturer’s instructions for these. They can sometimes be more sensitive to harsh cleaning.
Under-Sink and Whole-House Systems
These are usually more complex. They often involve larger filter housings and specialized cartridges. Cleaning these might involve more steps, and some cartridges are designed for replacement rather than cleaning. You might need specific tools for these.
Gathering Your Cleaning Supplies
You don’t need a whole arsenal of special tools to clean most water filters. A few common household items will do the trick. Having everything ready makes the process go much smoother.
- Mild dish soap (avoid harsh detergents!)
- A soft-bristled brush (an old toothbrush works wonders)
- Clean cloths or paper towels
- A clean sink or basin
- Warm water
The Step-by-Step Cleaning Process
Let’s get down to business! This is where we’ll tackle the actual cleaning. Remember to work in a clean area to avoid re-contaminating your filter.
Step 1: Disassemble the Filter System
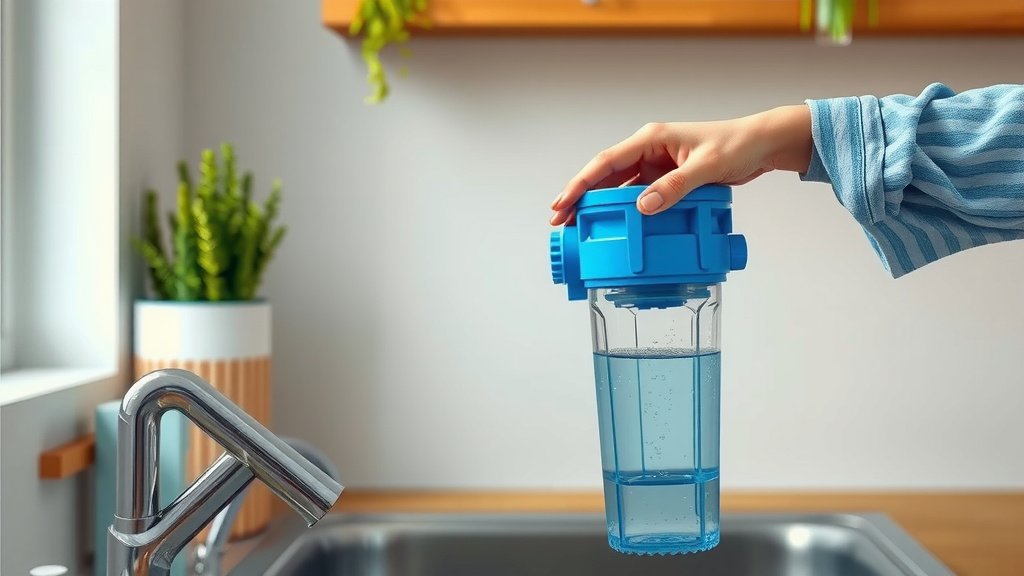
First things first, carefully take apart your filter system. Refer to your filter’s manual if you’re unsure how to do this. You want to separate all the washable components. This usually includes the housing, any seals, and sometimes the filter element itself, depending on the type.
Step 2: Gentle Cleaning of Components
Now, it’s time for the scrub-down. Use your soft brush and a little warm, soapy water. Gently scrub away any visible debris, mineral deposits, or slime. For pitcher filters, this usually means washing the pitcher and lid. For cartridge-based systems, you might just be cleaning the housing and seals.
What to Avoid During Scrubbing
It’s really important not to be too rough. Harsh scrubbing can damage the filter material or seals. We found that aggressive scrubbing can actually make the filter less effective. Also, avoid abrasive cleaners or scouring pads. They can scratch surfaces and create tiny homes for bacteria.
Step 3: Thorough Rinsing
This step is non-negotiable. You need to rinse all components thoroughly with clean, cool water. Make sure no soap residue is left behind. Soap can affect the taste of your water and potentially introduce unwanted chemicals. Rinse until you don’t see any more bubbles.
Step 4: Air Drying is Key
Letting your filter components air dry completely is crucial. Find a clean, well-ventilated spot. You can place them on a clean dish rack or a clean towel. Damp components can quickly become breeding grounds for mold and bacteria. We found that complete drying prevents regrowth.
Step 5: Reassemble Your Filter
Once everything is bone dry, carefully put your filter system back together. Make sure all parts are aligned correctly. If your filter has a specific cartridge, ensure it’s seated properly according to the manufacturer’s instructions.
When Cleaning Isn’t Enough: Replacement Time
Sometimes, despite your best cleaning efforts, a filter has simply reached the end of its lifespan. Filters are designed to capture contaminants, and over time, they become saturated. If you notice a decline in water quality or flow, it might be time for a new one.
Many manufacturers provide guidelines on how often to replace your filter. These are usually based on usage or a time period (e.g., every 2-6 months). Ignoring these recommendations can lead to poor water quality and reduced filter performance. We found that replacing filters on schedule is the most reliable way to ensure clean water.
A Quick Cleaning Checklist
Here’s a handy checklist to keep the process simple:
- Identify your filter type.
- Gather mild soap, soft brush, and clean water.
- Disassemble carefully.
- Gently scrub removable parts.
- Rinse all components thoroughly.
- Allow parts to air dry completely.
- Reassemble correctly.
Conclusion
You’ve learned how to keep your water filter in top shape! Regular cleaning ensures you’re always sipping on fresh, safe water. Remember, knowing your filter type is the first step to a successful clean. Gently cleaning, rinsing thoroughly, and ensuring complete air drying are key. If your filter just isn’t performing well anymore, don’t hesitate to replace it. Your next step? Pick a weekend to give your filter a good cleaning and enjoy better-tasting water!
Frequently Asked Questions
How often should I clean my water filter?
We found that cleaning frequency depends on your water usage and filter type. For pitcher filters, aim for every 1-2 months. For faucet or under-sink systems, check your manufacturer’s guide. Generally, if you notice changes in taste or flow, it’s time to clean.
Can I use bleach or strong chemicals to clean my water filter?
No, please avoid bleach or harsh chemicals. We researched this, and they can damage filter components and leave behind unsafe residues. Always stick to mild dish soap and warm water for the best results and safest drinking water.
What if my filter cartridge looks stained or discolored?
If your filter cartridge is significantly stained or discolored, it might be nearing the end of its life. While gentle scrubbing can remove some buildup, deep discoloration often means it’s saturated with contaminants. In this case, replacement is usually the best option.
My filter housing has hard water spots. How do I remove them?
Hard water spots can be tricky. For stubborn spots on the housing (not the filter itself), you can try a paste of baking soda and water. Gently scrub with your soft brush. Rinse very thoroughly afterward to ensure no residue remains.
Do all water filters need to be cleaned, or can some only be replaced?
You’re right to ask! Some filter types, particularly certain high-performance cartridges in under-sink or whole-house systems, are designed for replacement only. Always consult your filter’s manual. For most pitcher and faucet filters, cleaning is usually an option.