
How to Change a GE Profile Water Filter
Changing your GE Profile water filter is a straightforward process you can do yourself. You typically just need to turn off the water supply and twist the old filter out. Then, you push the new one in until it clicks. We found that most GE Profile models follow a similar filter replacement method.
Keeping your water tasting fresh and your refrigerator running well depends on a timely filter change. GE recommends replacing your water filter every six months. This ensures you’re always drinking clean, pure water. It also helps prevent potential damage to your appliance’s water system from clogs.
- Turn off your refrigerator’s water supply.
- Locate and remove the old filter.
- Install the new filter securely.
- Turn the water back on.
- Flush the new filter before use.
Let’s walk through exactly how this works step by step, so you can get your GE Profile water filter swapped out in no time.
Let’s get your GE Profile water filter replaced! It’s a task that sounds a bit daunting, but we’ve found that most GE Profile models make it surprisingly simple. You’ll be enjoying crisp, clean water again before you know it.
Swapping Your GE Profile Water Filter: A Simple Guide
Replacing your GE Profile water filter is less of a chore and more of a quick refresh. We’ve gathered the steps to make sure you get it right the first time. This process typically takes less than 15 minutes. You’ll want to have your new filter handy before you start.
Step 1: Prepare for the Change
Before you dive in, gather your supplies. You’ll need your new GE Profile water filter. Make sure it’s the correct model number for your refrigerator. You can usually find this in your owner’s manual or by looking at the old filter.
You don’t need many tools for this job. Most filter changes are designed to be done by hand. Having a clean towel or a small rag nearby is a good idea. It can catch any stray drips of water that might escape. We found this small preparation step prevents a mess.
Step 2: Turn Off the Water Supply
This is a really important step to avoid any unwanted water sprays. Your refrigerator has a water line connected to it, usually behind the appliance. You’ll need to locate the shut-off valve for this line. It’s often a small handle or knob.
Turn the valve clockwise until it stops. This cuts off the flow of water to your fridge. If you can’t find the valve, check your owner’s manual. Sometimes it’s on the wall behind the fridge, or it might be under the sink. We found that a quick check of the manual saves a lot of searching.
Step 3: Locate and Remove the Old Filter
GE Profile refrigerators typically house their water filters in one of a few common spots. You might find it inside the refrigerator compartment, often in the upper right-hand corner. Some models have the filter located in the base grille at the bottom front of the refrigerator.
Once you’ve found the filter housing, look for a way to release it. Many GE Profile filters simply twist to unlock. You’ll usually need to turn the old filter counter-clockwise. Give it a gentle pull, and it should slide out. A little bit of water might come out, which is why having that towel ready is helpful. We found that a firm but gentle grip works best.
Filter Housing Types
There are a couple of common filter housing designs. Some have a push-button release. You press the button, and the filter pops out slightly. Others have a twist-and-pull mechanism. No matter which type you have, it’s designed to be straightforward. Your manual can show you the exact method for your model.
Step 4: Install the New GE Profile Water Filter
Now it’s time to insert the new filter. Take your new GE Profile filter and remove any protective caps. Align the filter with the housing. You should feel it slot into place.
For twist-off filters, push the new filter in gently and then twist it clockwise. You’ll feel it lock into position. Many filters have an indicator line that should line up when it’s correctly seated. For push-in types, simply push the filter in until it clicks or seats firmly. We found that a gentle push and turn ensures a good seal.
Step 5: Turn the Water Supply Back On
With the new filter securely in place, it’s time to restore the water flow. Go back to the shut-off valve you turned off earlier. Slowly turn the valve counter-clockwise to open it. You should hear the water start flowing to your refrigerator again.
Check for any leaks around the filter housing. If you see any drips, turn the water off again and re-seat the filter. Make sure it’s twisted in firmly. We found that a slow opening of the valve helps prevent initial pressure surges.
Step 6: Flush the New Filter
This step is crucial for preparing your new filter for use. New filters contain loose carbon particles. You need to flush these out to ensure your water is clean and to prevent them from getting into your ice or water dispenser.
Dispense water from your refrigerator’s water dispenser for about 3-5 minutes. You’ll notice the water might be cloudy or discolored at first. This is normal. Keep dispensing until the water runs clear. You may also want to discard the first few batches of ice cubes. We found that flushing thoroughly ensures the best tasting water.
Why Flushing is So Important
The carbon inside water filters works to remove impurities. When a filter is new, some fine particles can be dislodged during the initial water flow. Flushing removes these particles. Many water quality experts recommend this step (Cleveland Clinic). It also helps condition the filter media for optimal performance.
Filter Replacement Checklist
To keep track, here’s a quick checklist:
- Confirm you have the correct new filter model.
- Turn off the refrigerator’s water supply valve.
- Remove the old filter by twisting or pushing.
- Install the new filter, ensuring it locks in place.
- Turn the water supply valve back on.
- Flush the new filter by dispensing water until clear.
When to Change Your Filter Again
GE recommends changing your filter every six months. However, you might need to change it sooner. If you notice a decrease in water flow or a change in water taste, it’s probably time. Your refrigerator might also have a filter indicator light. We found these indicators are usually quite accurate.
Following these steps will help your GE Profile refrigerator provide you with clean, great-tasting water consistently. It’s a small maintenance task that makes a big difference!
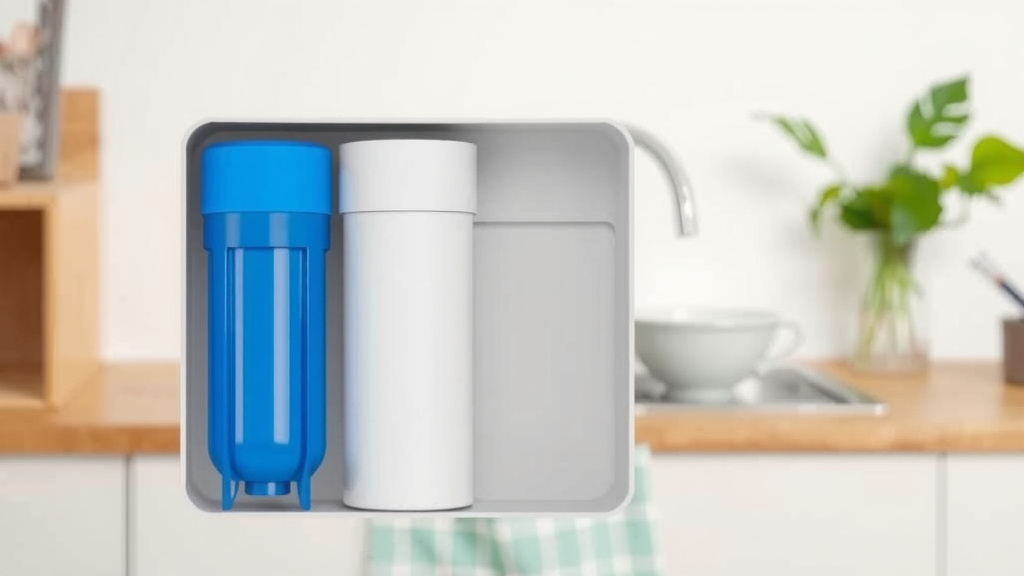
Conclusion
You’ve successfully learned how to change your GE Profile water filter. It’s a straightforward maintenance task that ensures your refrigerator delivers pure, great-tasting water. Remember, turning off the water supply, removing the old filter, installing the new one, and flushing are the key steps. Doing this every six months, or when needed, keeps your appliance in top shape and your water clean. Your next step is to check your current filter’s age and schedule your replacement if it’s time.
Frequently Asked Questions
How do I know which GE Profile water filter model to buy?
You can find your refrigerator’s specific filter model number in your owner’s manual. Alternatively, check the label on your old filter before you remove it. GE Profile filters are designed for specific refrigerator series, so matching the model number is essential.
What if I can’t find the water shut-off valve?
If you’re having trouble locating the shut-off valve, consult your GE Profile refrigerator’s owner’s manual. It will show you the exact location, which can vary. Sometimes, the valve is hidden behind the fridge or under the sink connected to the water line.
Is it normal for water to spray out when I remove the old filter?
A small amount of water might drip out, but a significant spray usually means the water supply wasn’t fully turned off. Always double-check that the shut-off valve is completely closed before attempting to remove the old filter. Having a towel ready helps manage any minor drips.
Why is the water cloudy after installing a new filter?
Cloudy or discolored water is normal immediately after installing a new filter. This is caused by loose carbon particles from the filter media. It’s why flushing the filter for 3-5 minutes is so important. Continue dispensing water until it runs clear.
Can I reuse my old GE Profile water filter?
No, you should never reuse an old water filter. Filters become saturated with impurities over time and lose their effectiveness. Continuing to use an old filter can lead to poor water quality and potential strain on your refrigerator’s water system.